Are you ready to begin your creative journey but don’t know where to start? Drawing can be an incredibly rewarding pastime and one of the best ways to express yourself artistically. As a beginner, selecting the right materials is essential for optimal results.
We’ll discuss what materials best suit novice artists looking to improve their drawing skills. We’ll look at supplies such as sketchbooks and pencils, paper types, erasers and other tools – all of which can help create breathtaking artwork! So whether you’re aiming to draw cartoons or stunning backgrounds, here are some key pointers on how to choose materials for your drawing needs.
Personally, I learnt to draw with a simple and cheap HB pencil and a cheap A4 sketchbook. Some people prefer to test stuff because they get bored fast. If that’s your case, you may want to explore different tools while learning the basics. Your choice, but keep in mind I don’t especially recommend it.
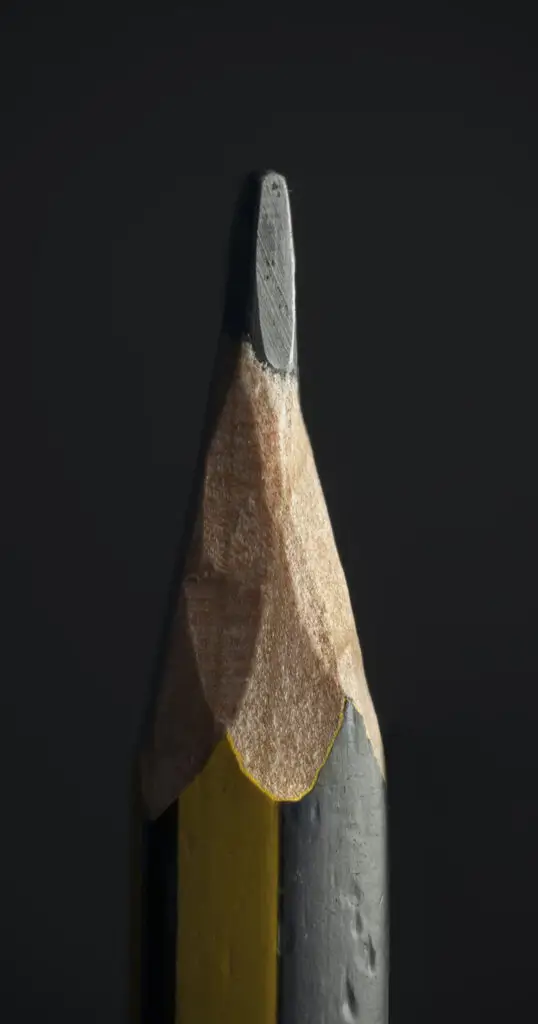
Choosing the right pencils
When deciding between graphite, charcoal or colored pencils for a project, it is important to consider the type of art or image being created.
Graphite pencils are great for sketching and outlining images with faint lines, while charcoal provides a dramatic striking effect with deep tones and textures. Colored pencils may seem like an obvious choice when coloring, however they can also be used to produce muted shades or detailed hues depending on their type. Ultimately, understanding the difference between each type of pencil can lead to choosing the best one for you and your desired finished piece.
My personal recommendation is to begin with a graphite pencil like a Staedtler Mars Lumograph. These pencils provide great versatility in terms of line width and shading, making them perfect for sketching out initial drafts or details on finished drawings. Plus they are affordable and have good longevity.
Understanding different paper types
Understanding the differences between different types of paper is essential to becoming an expert artist.
Sketchbook paper is made from lightweight materials and generally has a smooth or semi-smooth texture. It’s great for practice drawings and sketches, but it’s not suitable for ink or watercolors.
Tracing paper is thinner than sketchbook paper and has a higher level of transparency, making it ideal for transferring images onto your canvas.
Marker paper also comes in a lightweight variety and is coated with a special material that won’t absorb marker ink as much, so your artwork will last longer.
For a beginner, I suggest starting with smooth paper. Smooth paper is easier to draw on and allows for more accurate details in your artwork.
It can also be used with a variety of drawing tools such as pencils, markers, ink pens and even watercolors.
If you are looking for something with a little bit more texture or character, you may want to try out watercolor paper or marker papers, but it’s not cheap.
Erasing is caring
Having the correct eraser for a project is important too, as it can affect how precise your artwork looks.
Vinyl and kneadable erasers are great for detailed work and removing mistakes without smudging the image, while putty erasers are better for smudging and blending out pencil lines.
Ultimately it’s important to consider the type of project you’re working on before buying an eraser, as each one has a specific purpose.
Paper/pencil combination is key
Ultimately, getting the right materials is key when starting any drawing project. From understanding different types of paper to choosing between pencils and erasers, having quality supplies will ensure your artwork looks perfect every time! With these tips in mind, you’ll be well on your way to creating amazing works of art.
Try everything you can: pencil/paper combinations, until you find something you love. That’s what i did back in the days.
My personal recommendation would be to start with an A4 sketchbook (smooth paper). Hardcover is easier to store. Spiral is easier to use.
Depending on where you live, you’ll find different types of sketchbooks. Please don’t waste your money on Moleskine. You can find a very decent Moleskine imitation like Talens for less than 10 US dollars. Or you can go with a canson universal sketch pad. Those are my favourites at the moment.
My workspace has changed quite a bit through the years, especially the light.
Optimizing your work environment
Creating an optimal workspace is key to improving productivity and focus. It should include plenty of natural light, if possible, as well as spaciousness; having enough room to work efficiently and comfortably ensures concentration isn’t disrupted by clutter or tight quarters.
Finally, having a comfortable chair is essential – you don’t want your work hampered by backaches and neck pains due to an uncomfortable seating position. By addressing all these elements, you’ll be well on your way to establishing an effective workspace that allows you to excel in whatever goals you set out to accomplish.
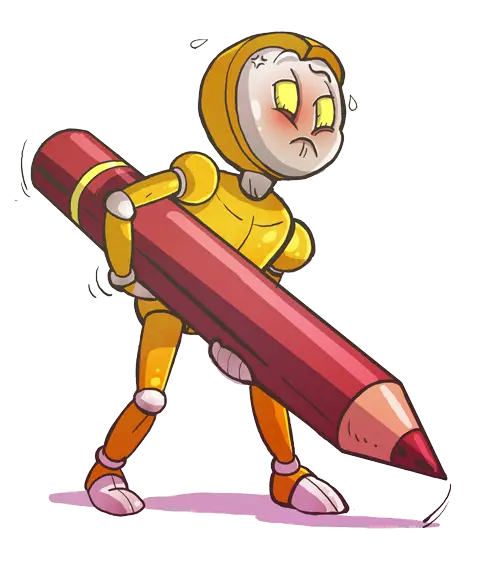
My favourite drawing tools
My favourite precise eraser is an Ohuhu mechanical eraser.
I also use a eraser kneaded gum for large surfaces and charcoal, and sometimes.
My sharpeners are very basic and cheap.
You’ll normally don’t need a ruler (freehand is better), but i like teaching perspective with one.
Blending tools are always needed because you can do it all with a simple pencil. But it may serve at times. At the moment I like to use some pan pastel on my drawings to pop the volumes really quick.
Exploring different materials
Exploring different materials can be a great way to take your artwork to the next level. Pastels, markers, inks and watercolors each offer unique characteristics that can add depth and beauty to your work.
Whether you are trying out multiple media on one piece or mixing them together to create something new and unique, discovering the unique properties of these materials is an exciting process. Not only will the development and use of these materials refine your style, but you will also gain a greater appreciation for all of the possibilities open to you when it comes to artistic expression.
But maybe try to wait a bit before going for too many mediums.
Discovering special techniques for each material
Working with different materials has always held a special place in the heart of every artist. For example, discovering special techniques for each material allows one to create truly captivating pieces of art. Creating textures with lines and adding shading with multiple levels of grey tones can help create depth and drama in any piece. It is so rewarding when a technique is perfected, allowing an artist to cultivate their own individual style by tailor-fitting these features into an artwork. Each person has the capacity to bring unique ideas to the creative process, which makes artistic expression something that’s completely individualized.
For example, crosshatching is a technique used in drawing and painting to create the illusion of form, volume, texture and shading by using intersecting lines. Lines are drawn at right angles or diagonally across one another in order to create different tonal values and patterns. The closer together the hatching lines, the darker the tone will be; as the lines get further apart, the lighter it will be. With practice and experimentation, this basic skill can easily become an exciting component of your artwork.
Of course, the more techniques you experiment with, the more fun and creative you’ll be able to make your pieces!
But Remember: don’t overload yourself with too many tools, for this will keep you from grasping the basics that can have a huge impact on your level.
Personally, I bought a lot of drawing and painting materials just for the purpose of testing, not only for me but for my students.
I have kept loads of waste in my drawers for years.
My conclusion is: to learn to draw and master the fundamentals, a standard A4 sketchbook (not too grainy), a good hard eraser and a HB or 2B pencil are enough.
Buy a good inclined table (Ikea’s drawing table are cheap) and diffuse white LED (or natural light) so can you draw without any visual fatigue.
POINTS TO REMEMBER
Find a good combination pencil/paper you like.
Find a good smooth paper A4 sketchbook.
Find a good chair and an inclined table, with diffuse white light.
Ok, it's now time for the good stuff: the real fundamentals!
Now you are ready for the basic techniques of drawing.
I know for a fact that people can draw for years without knowing the fundamentals.
Let’s dive into it and get our pencils to make some noise! Grab your sketchbook and let’s learn some nice creative stuffs.